Integrations Overview
See below for a list of the LMSs that Parlay now integrates with:
-
Canvas (premium feature)
-
Schoology (premium feature)
-
Microsoft Teams (premium feature)
- Brightspace (premium feature)
Integrating with your school's Learning Management System will allow you to:
- Roster your courses (not needed if you've already created your courses on Parlay)
- Sharing assignment data before the RoundTable
- Sharing assessment data after the RoundTable
Enabling Integrations
Integrations are available for schools and districts that have a site license for Parlay. In addition, school administrators must enable integrations through their admin portal before teachers can use them to roster students and share assignment/assessment data.
If you are an administrator and would like to learn how to enable integrations click here or click the chat bubble below and one of our team members can help you!
If you are a teacher, planning on using integrations with Microsoft Teams, Schoology or Canvas, and your administrator has enabled the integration, then follow the steps below.
Setting Up Integrations
1. Create or Connect Your Course
1. Create a Course
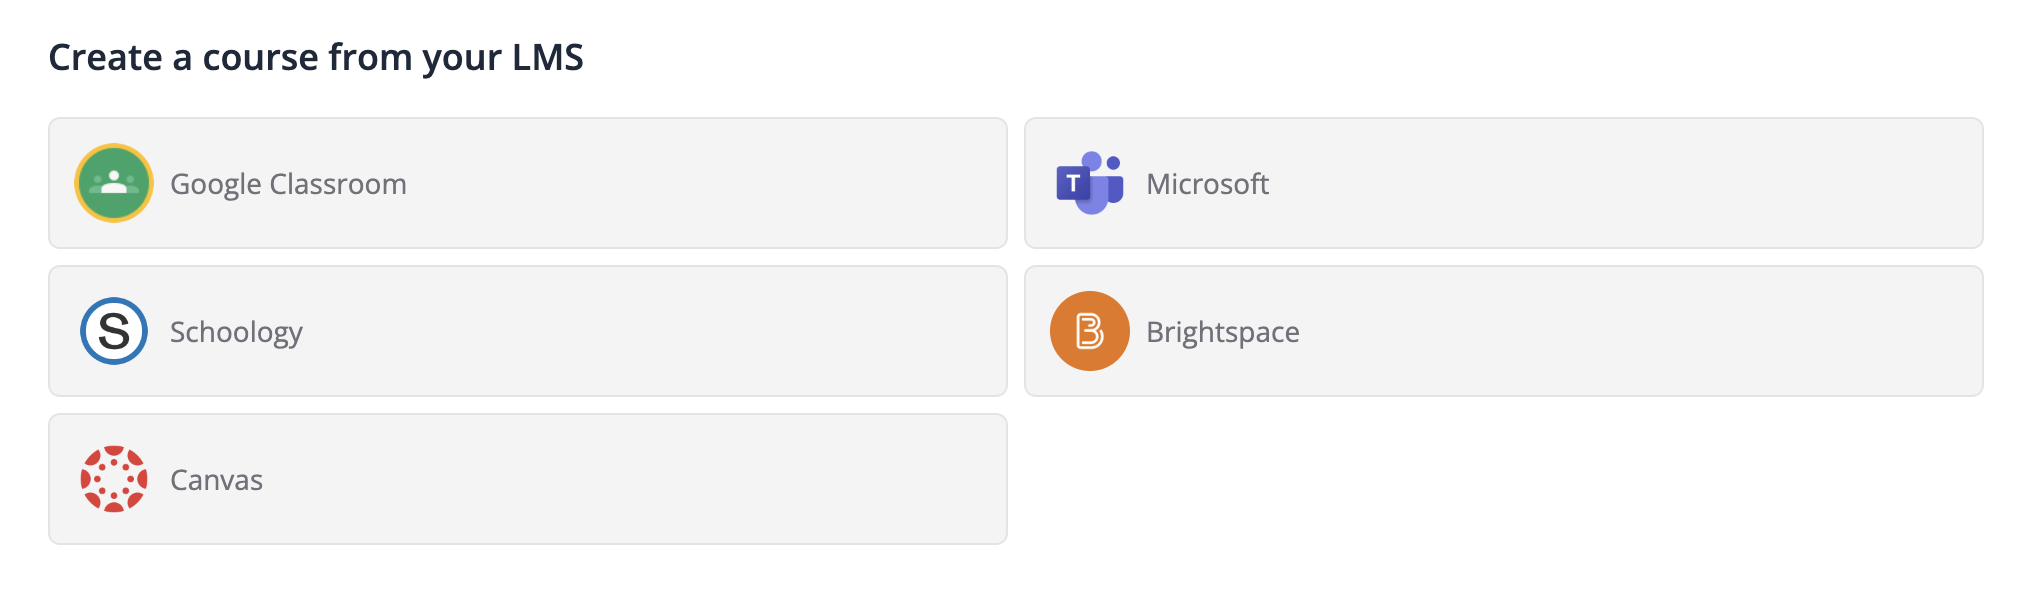
2. Select your LMS then follow the prompt to select the course you'd like to create in Parlay.
To Connect an Existing Parlay Course
- Select the course you would like to connect from your Courses page. Once inside of the course, click the Course Settings icon.

- Click Integrations

- Select which integration you'd like to connect to this course (Schoology, Canvas, or Teams).
- Select which course from your LMS that you'd like Parlay to connect to.
- Follow the steps to enable the integration between this course and the LMS. You will have to select an existing course from inside of the LMS and then the students
2. Connect Your RoundTable
- Now you can create your new RoundTable. Once inside of the RoundTable, press the "Invite Students" button.

- Select the LMS where you'd like to create an assignment. Note - you can only connect a RoundTable to ONE external LMS at a time.
- Follow the steps to create the assignment inside of the LMS. This will include providing the key information (title, description, due date, and points), and selecting which students from the class you'd like to invite.
3. For Students
- When students join a RoundTable that is connected to an LMS for the first time, they will also have to connect their Parlay account to the LMS. They only have to do this once.
- After joining the discussion (by clicking the link), Parlay will ask them to connect their account to the LMS (following the steps outline in the video below). Parlay will then redirect them back to the RoundTable.
4. Student Submissions
Written RoundTable - once a student submits their response to the Written RoundTable, Parlay will mark the student's work as "submitted" inside of your chosen LMS. It will also provide a link directly to that student's submission inside of Parlay.
Verbal RoundTable - once the student joins the Verbal RoundTable (even if they do not tap in), Parlay will mark the student's work as "submitted" inside of your chosen LMS.
5. Sharing Assessment Data
-
First, make sure you have set your assessment criteria for the RoundTable. Learn more.
-
After you have assessed and given feedback to your students in Parlay, click on the three dots in the RoundTable and then "Sync Assessment"

3. Choose a weighting for each Parlay criteria, and whether or not you would like to also sync written feedback.
4. Sync the assessment and feedback to your LMS!