If you would like to create small groups in a course, here are the steps you should take:
1. Create one unique RoundTable and edit the prompt to rename it for Group 1.
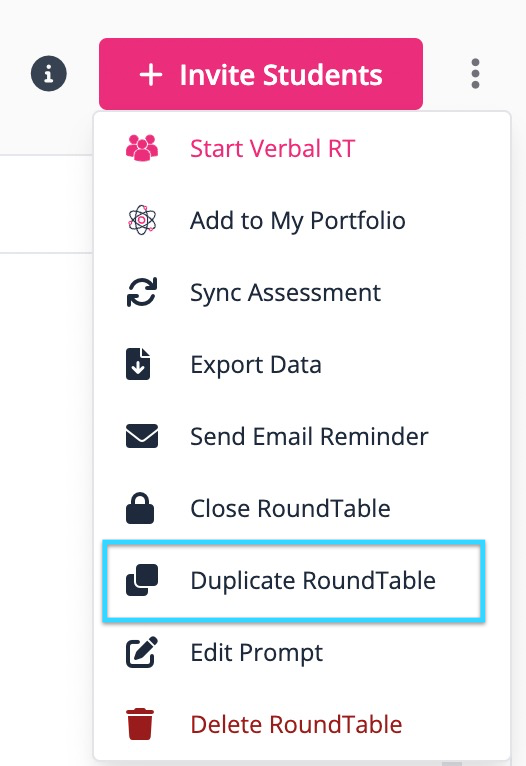
2. . If the questions/instructions are mostly the same with small edits you can “duplicate” this RoundTable. Click the three dots at the top right of the page and click duplicate.
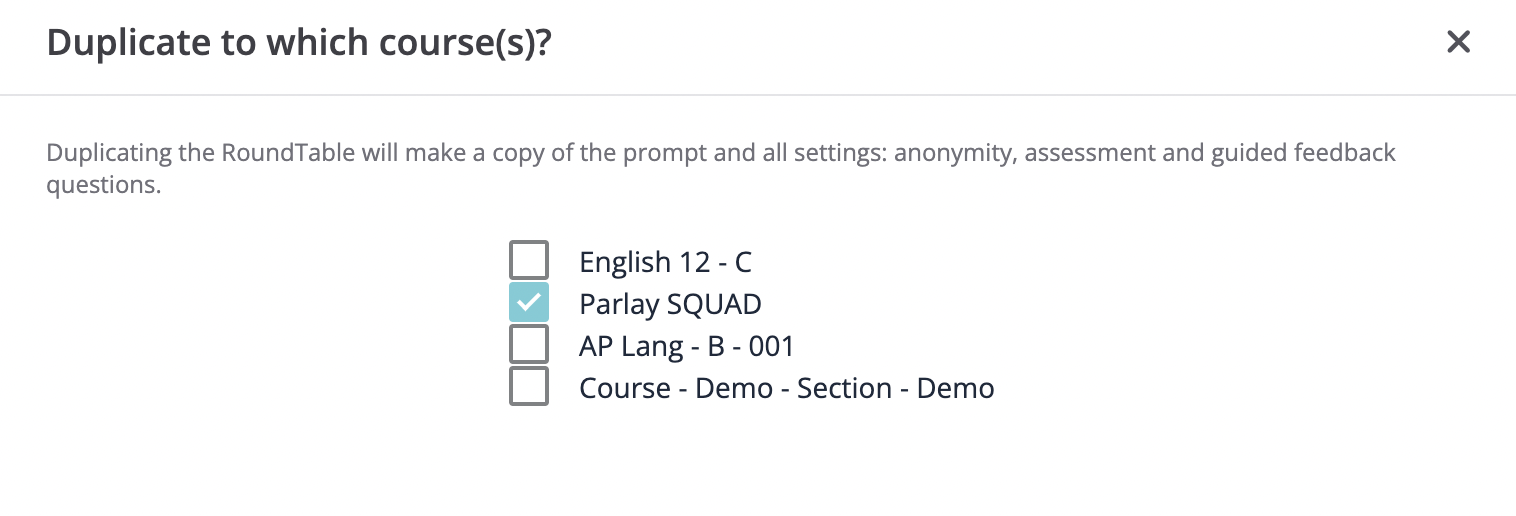
3. Click the name of the current course.
4. Repeat this for the number of groups that you would like.
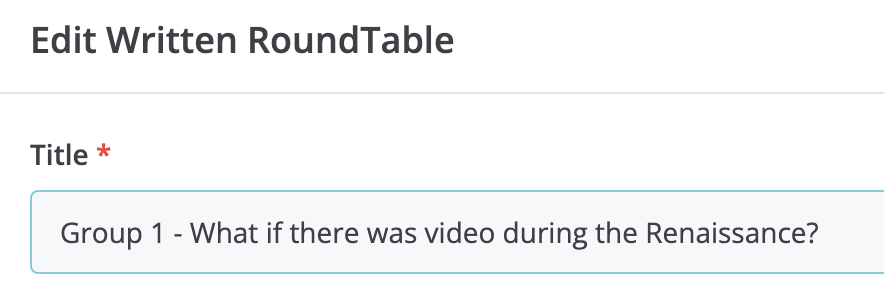
5. After the RoundTables are created, go into each RoundTable and change the name of it to reflect the group name.
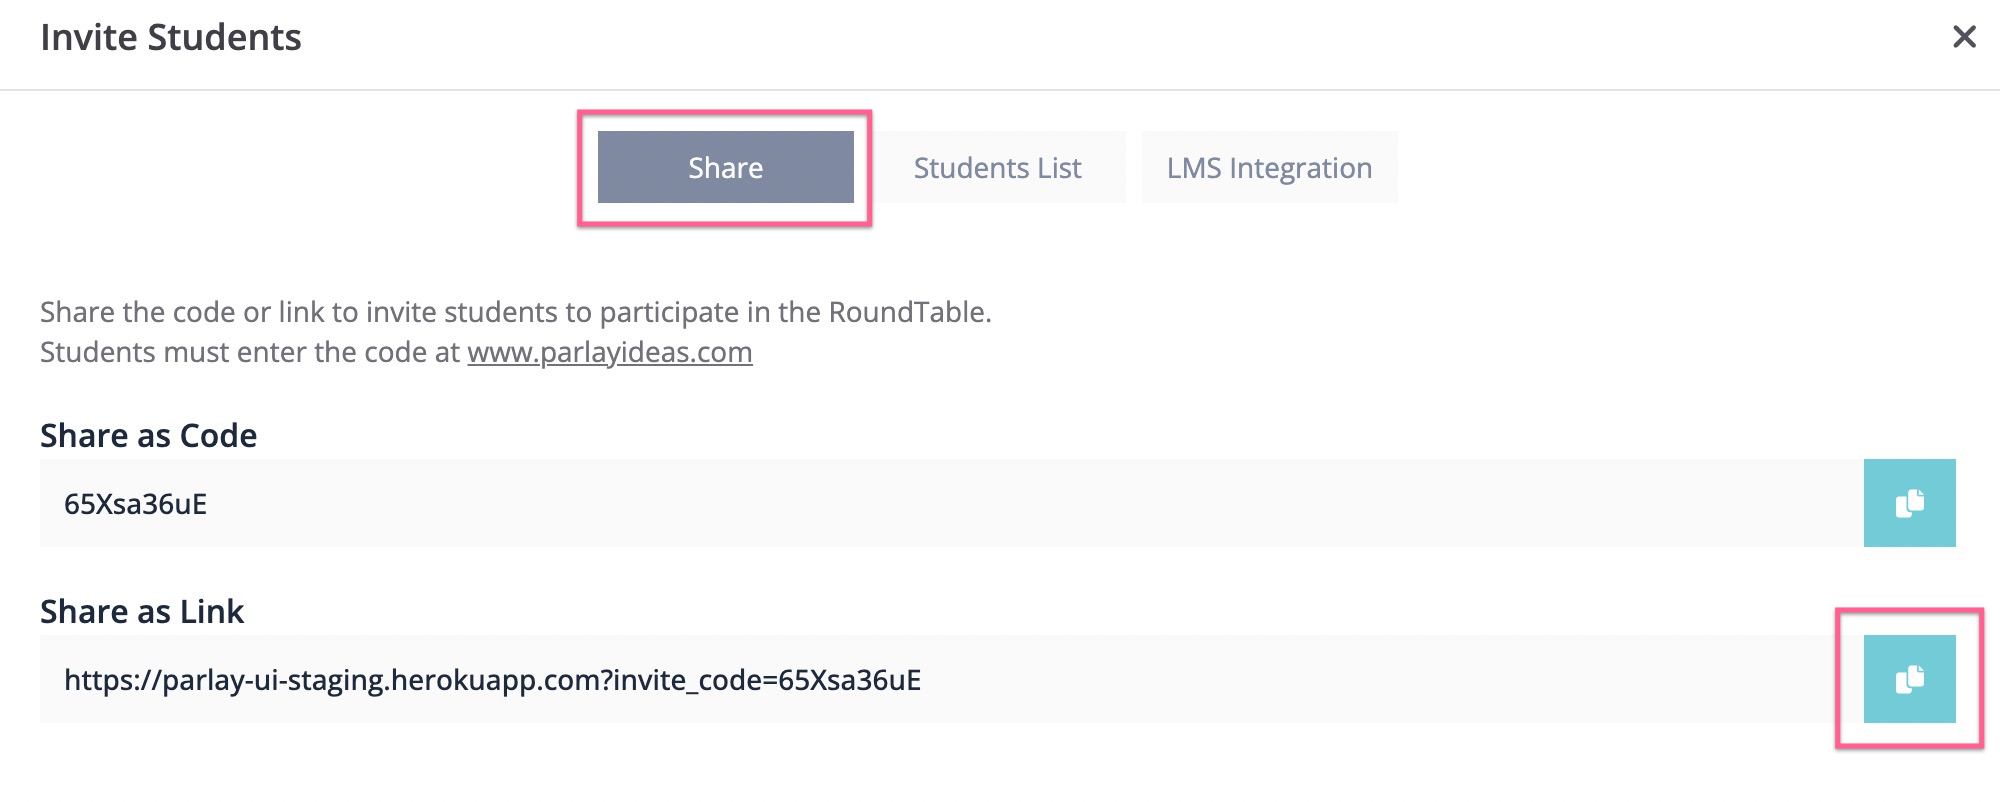
6. Click “Invite students” and select students from the Student List.
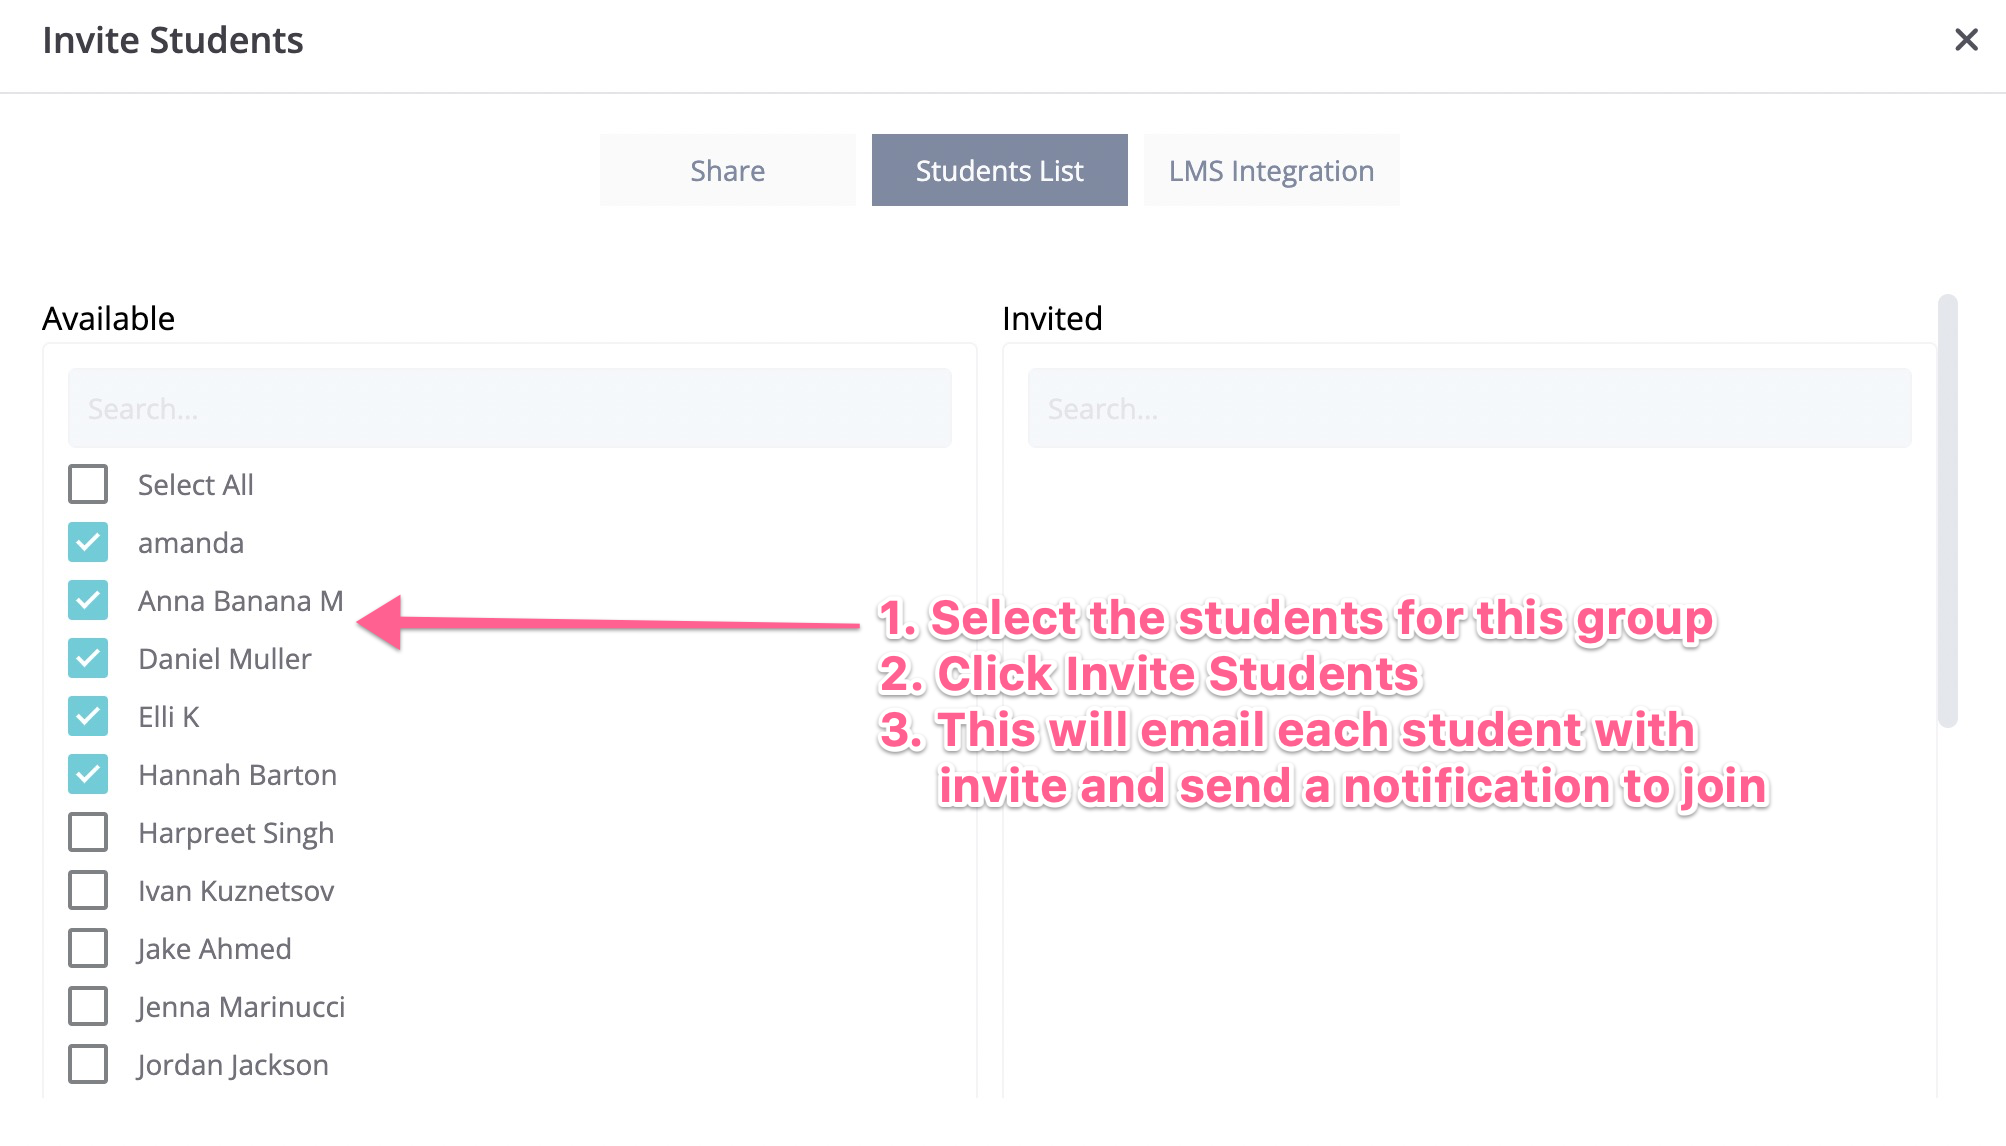
7. Click Invite
![]()
-
If this is the first discussion with your course, you can simply copy the link. Then paste the link in the setup in the step below.
8. Create a post in your LMS that looks like this:
Step 1 - Find your name and click your group’s link to join the discussion! Submit a response to the discussion prompt.
Step 2 - After participating in your own discussion join other groups as an observer (click skip to discussion)
GROUP 1 (name 1, name 2, name 3, name 4) - PASTE LINK HERE
GROUP 2 (name 1, name 2, name 3, name 4) - PASTE LINK HERE
GROUP 3 (name 1, name 2, name 3, name 4) - PASTE LINK HERE
GROUP 4 (name 1, name 2, name 3, name 4) - PASTE LINK HERE
GROUP 5 (name 1, name 2, name 3, name 4) - PASTE LINK HERE
GROUP 6 (name 1, name 2, name 3, name 4) - PASTE LINK HERE
GROUP 7 (name 1, name 2, name 3, name 4) - PASTE LINK HERE
That's all!
Continue exploring the Written RoundTable in the links below:
- How to Boost Participation in a Written RoundTable